Your Cart is Empty


If you don’t have drawers, the fastest, most reliable fix is to pick one primary method and commit to it: a countertop crock for everyday tools, a magnetic strip or rail for knives and metal utensils, or a shallow cabinet tray for dust-free concealment. Each solves a different problem, and most drawer-free kitchens end up using two of the three together.
Pro Tip: Measure your actual reach zone first, the 18 inches beside your stove or prep spot, before buying anything. That measurement decides whether a crock, a rail, or a tray will fit without crowding your workspace.
Once you know your spot, buy or build one container or mount this week. Don’t try to solve every utensil problem at once.
The most reliable drawer-free cutlery system pairs one primary storage method, a countertop crock, a wall rail, or a cabinet tray, with strict item limits and a weekly cleaning habit.
| Point | Details |
|---|---|
| Cap crock items at five to eight | Keep only daily-use tools in a countertop crock to avoid tangling and overcrowding. |
| Match material to placement | Bamboo and stainless resist grease near the stove better than untreated wood. |
| Mount knives above child reach | Position magnetic strips high, with blades turned away from foot traffic. |
| Zone your pegboard | Split hooks into prep, cook, and clean areas so tools stay where you use them. |
| Clean weekly, not monthly | Wash crocks and wipe rails every week to prevent grease buildup on open storage. |
Countertop crocks remain the go-to for anyone who cooks daily and wants tools within arm’s reach. The material you pick changes more than the look.
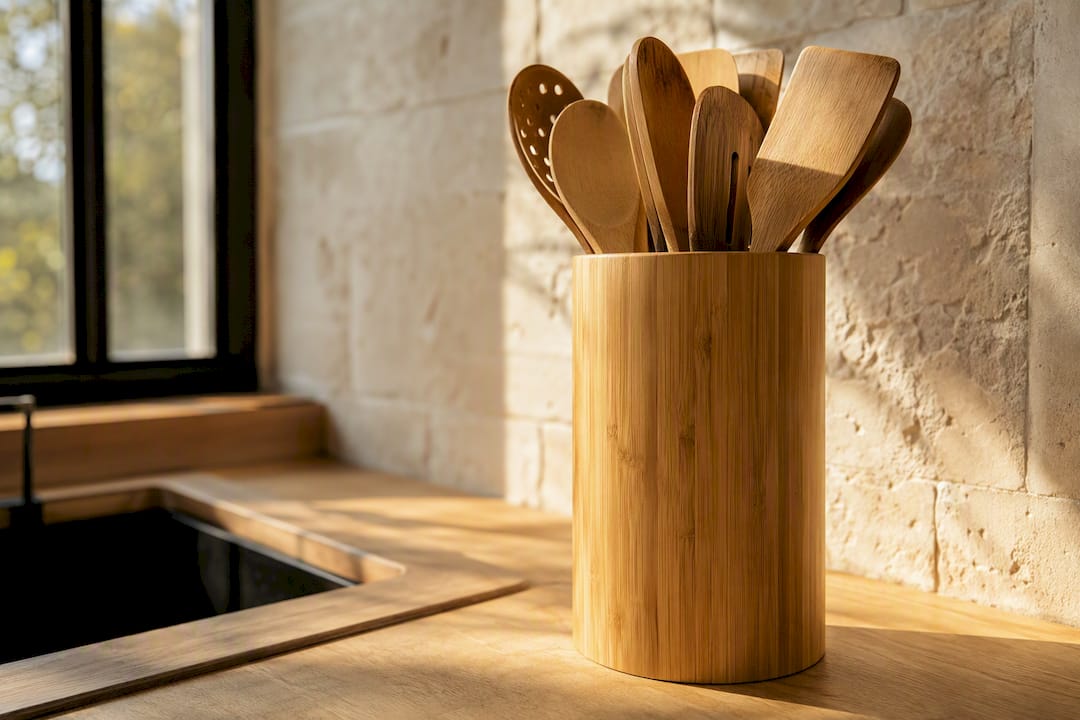
Ceramic crocks are heavy enough to stay put and easy to wipe down, but they chip if knocked into a faucet. Stainless steel resists rust and matches most modern kitchens, though it shows water spots. Weighted-base plastic or acrylic crocks are the cheapest and toughest for renters, but they scratch and yellow over time. Bamboo crocks split the difference: naturally antimicrobial, light but stable when weighted at the base, and they age well instead of looking worn.
Here’s how to keep a crock from turning into a junk drawer standing upright:
Pro Tip: If you cook with the same five tools every night, put those in the crock and box up the rest. A crock that holds twenty utensils isn’t storage, it’s a haystack with a spatula somewhere inside.
Lidded crocks cut down on dust between uses, which matters if your kitchen sees a lot of airflow or you don’t cook every day. Open crocks look better in photos but need a rinse more often.
Vertical storage is the biggest opportunity most drawer-free kitchens waste. Wall-mounted rails, magnetic strips, pegboards, and over-the-door organizers are all effective for kitchens without drawers, and each one solves a slightly different problem.
Magnetic knife strips work only for metal tools with enough steel content to hold. Knives, some stainless spatulas, and metal whisks stick fine; wooden spoons and silicone tools do not. Rails with S-hooks handle almost everything else, including heavier ladles, tongs, and pot lids that would slide right off a magnet.
Placement matters more than most people think. Mounting a magnetic strip at a height children can’t reach, with blade edges turned away from foot traffic, prevents the two most common kitchen injuries tied to open knife storage. A strip installed at eye level over a stretch of counter you walk past constantly is asking for a cut.
A pegboard gives you the most reconfigurable setup of any option on this list, more flexible than a fixed rail because you can move every hook, but only if you plan the layout before you start drilling holes.
Measure the wall section first, then divide it into rough zones that match how you actually cook: a prep zone near the cutting board, a cook zone near the stove, and a clean zone near the sink. Grouping similar items together and adding small bins or shallow shelves for smaller tools like forks and can openers keeps the board from turning into a wall of random hooks.
A pegboard that never changes stops earning its keep. Treat it like a living layout, not a fixed display.
If you’d rather not see your utensils at all, cabinets and door space can absorb almost everything a drawer normally would. The trick is picking hardware built for horizontal shelves instead of vertical drawer boxes.
Over-the-door organizers and shelf-mounted sliding trays keep utensils hidden and dust-free without installing new drawers, and picking units with removable dividers means you can resize compartments as your tool collection changes. Cozee-bay’s guide on arranging a cutlery drawer for maximum efficiency covers layout logic that transfers directly to a shelf-mounted tray, even without an actual drawer underneath it.
Don’t overlook narrow gaps either. Under-cabinet mounts and slim pull-outs between appliances turn wasted inches into usable upright storage for long utensils like ladles, whisks, and rolling pins that never fit neatly anywhere else.
Mobility solves a problem fixed storage can’t: cooking happens in different spots depending on the meal. Small kitchens benefit from mobile solutions like slim carts and tiered carousels because you can wheel your tools to the stove, then push the whole setup out of the way when you’re done.
A rolling cart is also the easiest storage method to test before committing to a wall mount or built-in tray, since you can rearrange it in minutes if it isn’t working.
Every storage method above works better once you apply the same sorting logic underneath it. The goal is to stop treating every utensil as equally important, because they’re not.
Pro Tip: Label divider cups or bins with a small strip of masking tape for the first month after reorganizing. It sounds unnecessary until you’re mid-recipe and can’t remember which cup you assigned to whisks.
Open storage looks great until it collects a week of kitchen grease. A short weekly routine keeps it that way permanently.
Bamboo solves the two biggest complaints about open utensil storage: it looks better than plastic and it holds up better than most people expect. A sealed bamboo finish resists water rings, and a weighted base keeps a crock from tipping when you grab a spoon in a hurry.
A bamboo crock works on the counter, a bamboo tray slides onto a cabinet shelf, and a bamboo caddy accessory clips onto a pegboard just as easily as a plastic one, without the sterile look. Cozee-bay’s guide to organizing kitchen utensils sustainably with bamboo walks through material choices in more depth, and the site’s kitchen organization ideas for clutter-free spaces covers the broader decluttering approach that pairs well with any of the storage methods above. If you’re weighing a shelf-mounted retrofit, the practical guide to kitchen drawer organizers explains liner and layout choices that transfer directly to a shelf setup with no drawer involved.
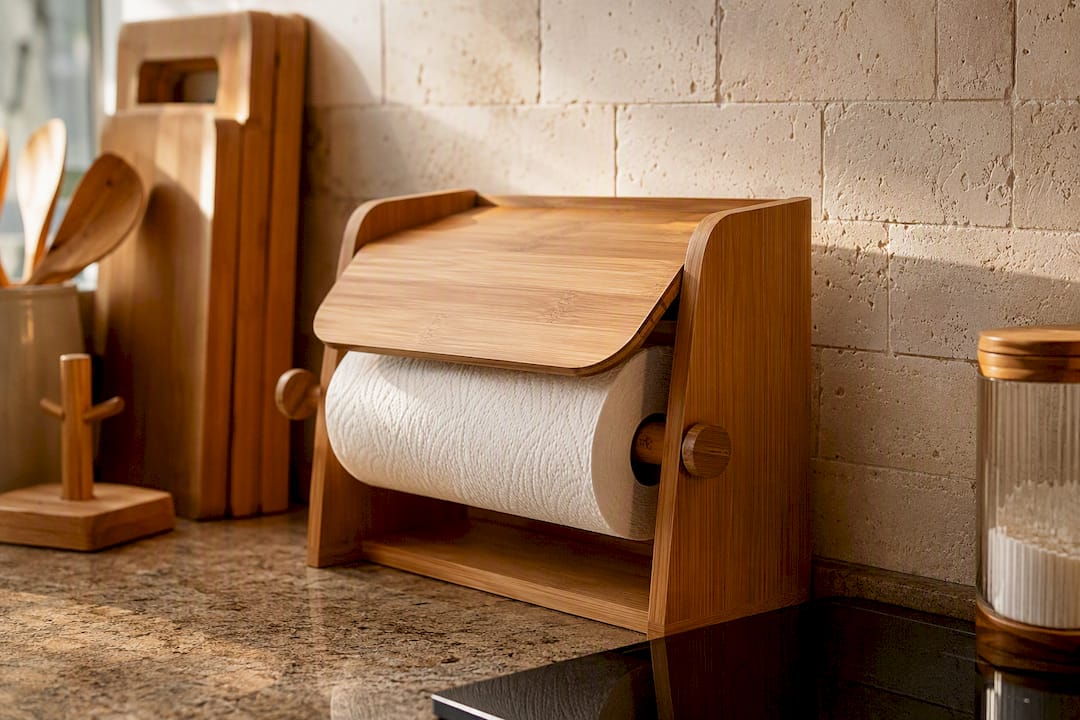
Cozee-bay’s bamboo paper towel dispensers use the same sealed, weighted-base construction philosophy, built for kitchens, restaurants, and coffee shops that need something durable, good-looking, and easy to wipe down daily. Take a look at the Cozee-bay bamboo paper towel dispenser if you’re already rethinking what sits out on your counter.
Most guides treat drawer-free storage as a problem to hide, as if the goal is to make your kitchen look like it secretly has drawers somewhere. That’s backward. A crock, a rail, or a bamboo tray on open display isn’t a compromise, it’s often faster to use than a drawer you have to open and dig through.
The conventional advice leans hard on buying more organizers without ever mentioning the item cap. Nobody warns you that a crock with fifteen tools crammed inside is worse than no system at all, and that’s the mistake we see repeated across kitchen blogs constantly. Five to eight tools, one clear zone, one cleaning habit. That’s the whole system.
What we’d prioritize first, before buying anything, is measuring your actual reach zone and picking materials that hold up without babying them. Bamboo does that without looking like it belongs in a hospital supply closet. Skip the plastic bin from the clearance aisle and start with one well-made container in the spot you’ll actually use every day.
— Cozee
Comments will be approved before showing up.