Your Cart is Empty


TL;DR:
- Organizing under the bathroom sink involves decluttering, measuring, and sorting items to maximize space and accessibility. Using durable plastic bins and vertical storage solutions creates a functional, moisture-resistant system that adapts to plumbing constraints. Regular maintenance and clear zones help keep the space organized long-term with minimal effort.
Organizing under the bathroom sink is the process of clearing, categorizing, and arranging cabinet contents around plumbing fixtures to maximize storage and accessibility. Most homeowners treat this space as a catch-all, but a well-organized cabinet saves time every morning and prevents the frustration of digging past expired products to find what you actually need. The good news: knowing how to organize under bathroom sink storage takes about 30–60 minutes and costs as little as $15. The right system turns a dark, awkward cabinet into one of the most functional spots in your home.
Preparation is the difference between a system that lasts and one that collapses in two weeks. Before buying a single bin, measure your cabinet opening width and height, not just the interior dimensions. An organizer that fits inside the cabinet but cannot pass through the door opening is useless. Write down both measurements before you shop.
The right materials protect your cabinet and keep things visible. Solid plastic or acrylic bins outperform wire baskets under the sink because they contain spills and protect the cabinet floor from water damage. Wire baskets look tidy on a shelf, but a single leak from a loose pipe fitting will soak everything inside them.
Here is a practical starter list for most bathroom cabinets:
The total project typically costs $15–$40 for basic organizers and takes under an hour. That is a low investment for a space you use every single day.
Pro Tip: Empty the cabinet completely before measuring. A cabinet that looks spacious with products inside often has far less usable floor space than you expect once you account for the drain pipe and supply lines.
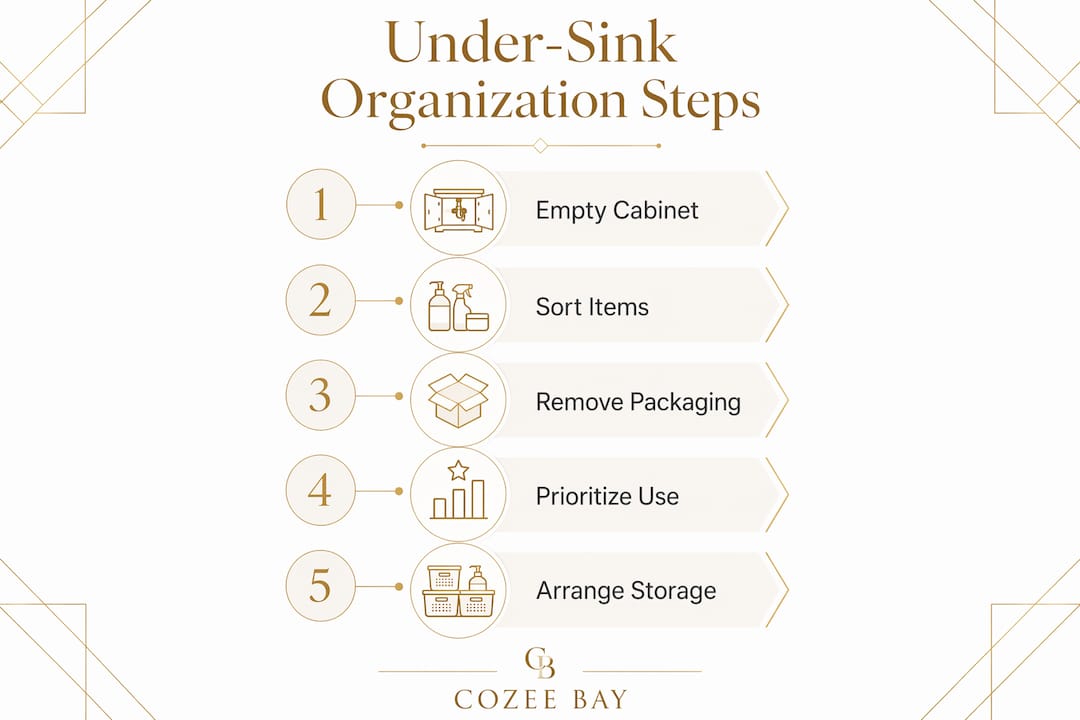
A standardized 5-step process guides professional organizers when tackling under-sink cabinets: empty the cabinet, deep clean the interior, sort items into categories, measure and select containers, then assign zones based on how often you use each item. Following this sequence prevents the common mistake of buying organizers before you know what you actually need to store.
Pull every item out and place it on a flat surface. Check expiration dates on medications, skincare products, and first aid supplies. Discard anything expired, nearly empty, or unused for more than six months. Most people discover they have been storing three half-empty bottles of the same product because the cabinet was too dark and cluttered to see what was already there.
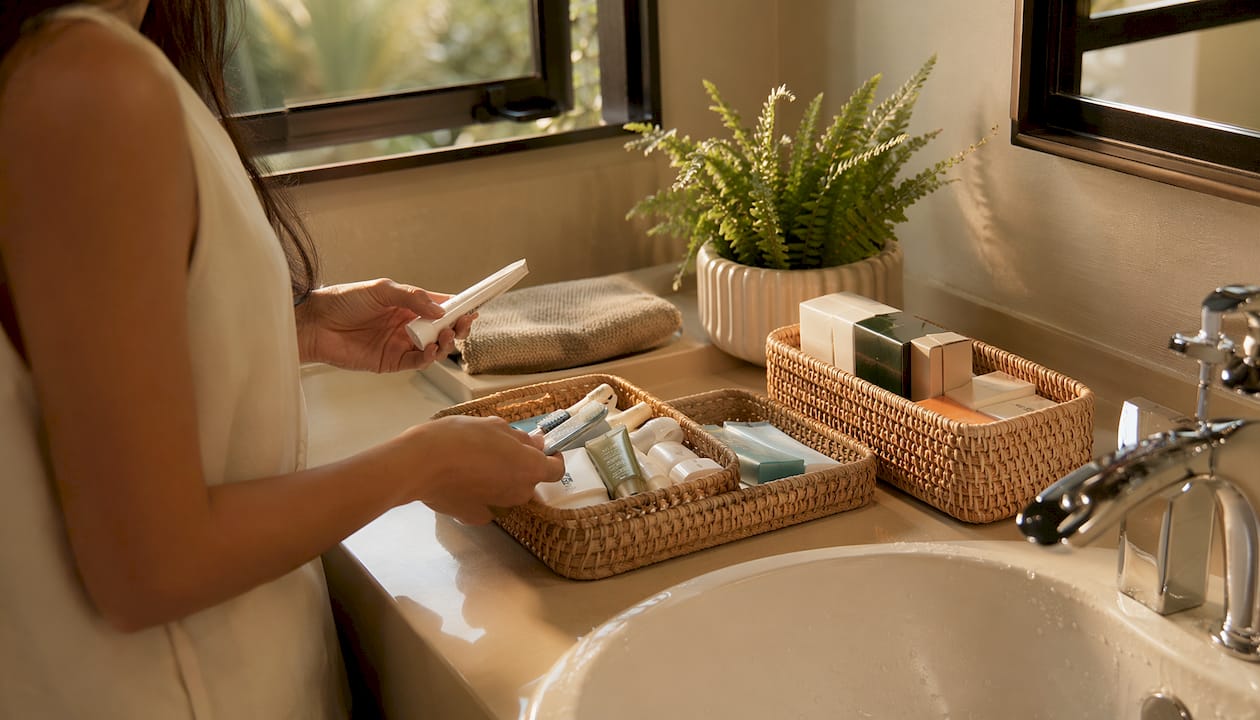
Group what remains into clear categories. Common ones include:
Keeping categories separate prevents the “mystery pile” that forms when everything gets tossed back in together.
Removing items from original opaque packaging improves visibility and saves space. A cardboard box holding three individually wrapped soap bars takes up twice the room of those same bars sitting in a clear bin. Opaque packaging also hides how much product you have left, which leads to buying duplicates you do not need.
Daily items go in front. Backstock and rarely used products go to the rear or on higher shelves. Frequently used items stored in front make the system sustainable because you never have to dig. If reaching something requires moving three other things, you will stop putting it back where it belongs.
Pro Tip: Take a photo of your sorted categories before putting anything back. That photo becomes your reference when the cabinet starts to drift back toward chaos, and it helps you buy the right size bins the first time.
Plumbing fixtures occupy 30–40% of under-sink volume. Without a plan, that leaves a large portion of the remaining space wasted because most people stack items flat on the cabinet floor. The fix is vertical thinking: use the height of the cabinet, not just the footprint.
Adjustable or expandable shelf risers sit on either side of the drain pipe and create a second storage tier without blocking access to the plumbing. Place taller items like cleaning spray bottles on the floor-level tier and shorter items like travel-size products on the riser shelf above. This single change can double your usable storage without adding a single square inch of floor space.
Tension rods installed horizontally across the cabinet interior let you hang spray bottles by their trigger handles. The bottles hang upside down, freeing the entire cabinet floor for bins and baskets. This trick works especially well for cleaning products that would otherwise crowd out personal care items.
| Zone | What goes here | Why |
|---|---|---|
| Front, floor level | Daily essentials (face wash, toothpaste) | Easiest reach, no bending or moving items |
| Rear, floor level | Cleaning supplies and backstock | Less frequent access, still reachable |
| Riser shelf | Medium-use items (hair care, extras) | Elevated for visibility, not daily grab |
| Cabinet door | Small items (cotton swabs, hair ties) | Uses otherwise wasted door space |
Keep the area beneath the drain pipe relatively clear to allow easy plumbing access and early leak detection. A small leak caught early costs nothing to fix. A leak hidden under a stack of bins for three months can mean cabinet replacement. Treat that space as a maintenance corridor, not storage.
Door-mounted organizers attach to the inside of the cabinet door with adhesive strips or over-door hooks. They hold small items like cotton balls, hair ties, and nail clippers without crowding the cabinet interior. For renters, adhesive options avoid drilling and leave no permanent marks.
Pro Tip: Check storage solutions for homeowners before buying organizers. Knowing the full range of available products helps you choose the right fit for your specific cabinet dimensions and plumbing layout.
Organization without maintenance is just delayed clutter. The cabinet will drift back toward chaos unless you build a few simple habits around it. The good news is that maintaining a well-set-up system takes far less effort than the original overhaul.
Designating specific storage zones for family members or item categories prevents under-sink chaos in shared bathrooms. Label each bin or zone clearly. When everyone knows where their products live, the system maintains itself. Without labels, the cabinet reverts to a free-for-all within weeks.
Avoid storing non-bathroom items under the sink. Tools, cleaning rags for other rooms, and random household supplies belong elsewhere. Every off-category item added to the cabinet chips away at the system you built.
Once a year, pull everything out again and repeat the decluttering step. Check expiration dates, discard empties, and reassess whether your categories still match how your household uses the space. Families change. Products change. Your system should too.
Pro Tip: A waterproof liner is your best insurance policy. It protects the cabinet floor from slow drips and makes the annual cleanout a five-minute job instead of a scrubbing session.
Organizing under the bathroom sink works best when you combine thorough decluttering, category-based zoning, and storage tools built to work around plumbing constraints.
| Point | Details |
|---|---|
| Measure before you buy | Measure the cabinet door opening, not just the interior, to confirm organizers will fit. |
| Use plastic or acrylic bins | Solid bins contain leaks and protect cabinetry better than wire baskets. |
| Work around plumbing vertically | Expandable risers and tension rods double usable space without blocking pipe access. |
| Zone by frequency of use | Daily items go front and low; backstock and rare items go rear or elevated. |
| Maintain with simple habits | Weekly wipe-downs, clear labels, and an annual declutter keep the system working long-term. |
Most people skip the under-sink cabinet when they tackle bathroom organization. It is low, dark, and full of pipes, so it feels like more trouble than it is worth. That thinking is exactly why it becomes the most chaotic spot in the bathroom.
What I have found, after helping people work through their home organization projects, is that the under-sink cabinet rewards a little structure more than almost any other space. The cabinet is small enough that a single afternoon of effort produces a result you feel every morning. You stop hunting for your face wash. You stop buying duplicate products because you could not see what you already had. The daily friction just disappears.
The biggest mistake I see is buying organizers before decluttering. People fill beautiful clear bins with products they should have thrown away two years ago. The system looks tidy for a week, then collapses because there was never enough room to begin with. Always declutter first. The right organizers become obvious once you know exactly what you are storing.
Durable, moisture-resistant materials matter more under the sink than anywhere else in the home. A slow drip from a supply line will ruin cardboard, warp wood, and rust metal. Plastic and acrylic bins survive that environment. Pair them with a waterproof liner and you have a cabinet that stays clean and functional for years. You can find a full bathroom decluttering checklist to guide the process from start to finish.
Start small if the full project feels like too much. Clear one shelf, label two bins, and wipe down the liner. That small win builds the habit that makes the rest easy.
— Cozee
Knowing the right approach is half the battle. Having the right products makes the other half easy.

Cozee-bay carries a curated range of organizers, bins, and liners built for exactly the kind of tight, moisture-prone space under your bathroom sink. Every product is designed with durability and sustainability in mind, so you get storage that holds up to daily use without contributing to landfill waste. From drawer organizers to cabinet-ready bins, Cozee-bay’s collection covers the full range of under-sink storage needs. Free shipping is available within the contiguous U.S., and every purchase is backed by a money-back guarantee. Visit cozee-bay.com to browse the full collection and find the right fit for your cabinet dimensions and household needs.
Most under-sink organization projects take 30–60 minutes from start to finish. Budget an extra 15 minutes if your cabinet has not been cleared out in over a year.
Solid plastic or acrylic bins are the best choice because they contain spills and protect the cabinet floor from water damage. Wire baskets allow liquid to pass through and can lead to cabinet damage from slow leaks.
Use adjustable or expandable shelf risers that sit on either side of the pipe, and keep the space directly beneath the drain clear for plumbing access. Tension rods installed horizontally let you hang spray bottles and free up floor space entirely.
A full declutter once a year keeps the system current. A quick weekly wipe-down and spot check prevents small messes from building into a full reorganization project.
Yes. Adhesive door organizers, tension rods, and freestanding bins require no drilling and leave no permanent marks, making them ideal under-sink storage ideas for renters.
Comments will be approved before showing up.