Your Cart is Empty


How to Keep Drawer Organizers from Sliding
TL;DR:
- To prevent drawer organizers from sliding, measure accurately, ensure surfaces are clean and dry, and use targeted grip aids like museum gel or non-slip liners. Proper fit combined with surface preparation and layered solutions offers the most effective and damage-free stability. Regular maintenance and reapplication of grip aids help sustain organization, especially in high-use or humid environments.
Keeping drawer organizers from sliding is solved by combining a snug fit with clean, dry surfaces and targeted grip aids like museum gel, double-sided tape, or non-slip liners. The problem is not random. Sliding occurs from low surface friction due to smooth or contaminated drawer bases and organizers that are too small for the space they sit in. Whether you are reorganizing your kitchen flatware drawer or tidying up a bathroom cabinet, the fix is the same: measure first, prep the surface, then apply the right grip solution. This guide walks you through every step, from choosing the right size to stabilizing what you already own.
How to keep drawer organizers from sliding: why it happens
Understanding the root cause saves you from wasting money on fixes that do not address the real problem. Most people assume a heavier organizer will stay put on its own. It will not.
The core reasons organizers shift around include:
- Poor fit. An organizer that is too narrow for the drawer has room to rock and drift with every open and close. Even a half-inch of extra space on each side is enough to cause noticeable movement over time.
- Smooth surfaces. Plastic drawer bases and the bottoms of most plastic or bamboo organizers are slick by design. Without texture or a grip aid between them, there is almost no friction to hold anything in place.
- Grease, moisture, and debris. Kitchen drawers especially collect cooking residue and humidity. Residual moisture or grease drastically reduces grip and causes drift even when an organizer fits reasonably well.
- Vibration from drawer movement. Every time you yank a drawer open or push it shut, the organizer gets a small jolt. Over dozens of daily uses, those jolts add up and shift the organizer out of position.
- Weight shifts from contents. Utensils, tools, and knick-knacks move around inside the organizer as you use them. That shifting weight pushes the organizer itself in different directions.
Weight alone cannot prevent sliding without surface preparation and proper grip aids. That single insight changes how you approach the whole problem.
How to measure and select the right organizer to minimize movement
Buying the wrong size organizer is the most common mistake, and no amount of tape or gel fully compensates for a bad fit. Getting the dimensions right before you buy is the single most effective way to prevent drawer organizers from slipping in the first place.
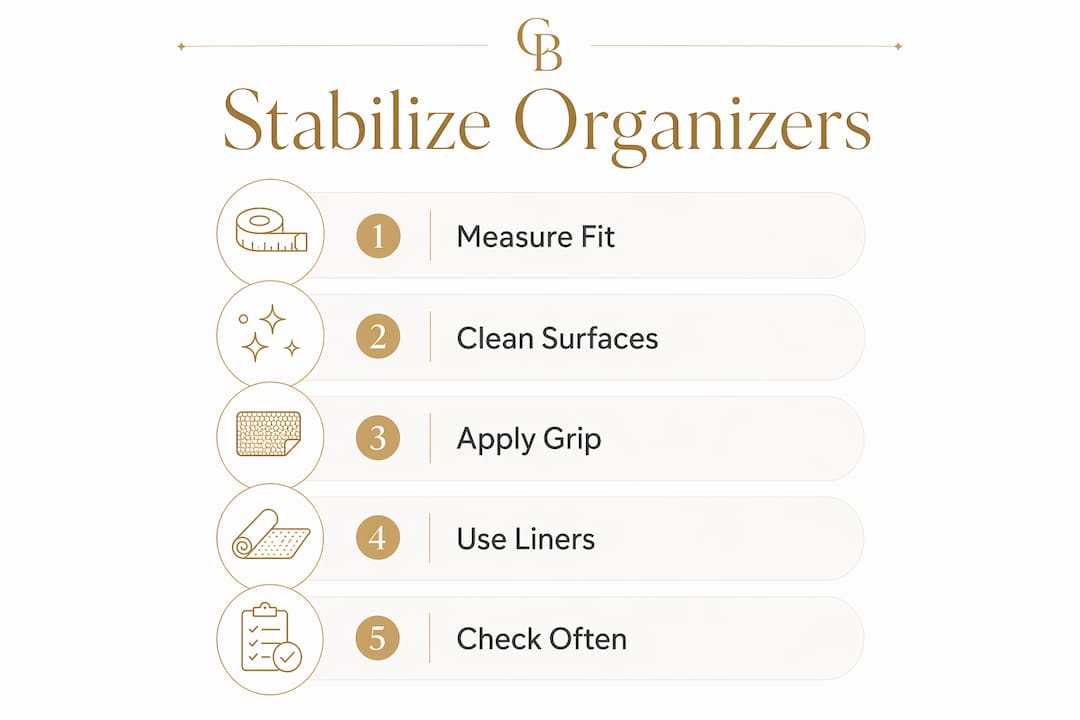
Follow these steps before purchasing any organizer:
- Measure the interior drawer width and length. Use a tape measure and note both dimensions to the nearest quarter inch. Do not estimate. Drawer interiors are often slightly smaller than the cabinet exterior suggests.
- Account for the right clearance. Aim for about 0.5 cm extra on each side for a snug fit when using a liner underneath. For organizers without liners, leave roughly a quarter inch of wiggle room to avoid wear on the organizer edges while still limiting lateral movement.
- Measure drawer depth. An organizer that fills the full depth of the drawer has far less room to travel forward and backward. Wasted space at the back of the drawer is wasted stability.
- Look for built-in non-slip features. Organizers with built-in non-slip pads or textured bases perform better out of the box. In testing of 13 kitchen drawer organizers, products priced between $20 and $28 with non-slip features consistently outperformed smooth-bottomed alternatives.
- Consider material. Bamboo organizers tend to have a naturally textured base that grips better than polished plastic. Rubber-footed organizers add direct contact points that resist sliding without any additional products.
- Check that non-slip pads will actually make contact. Non-slip pads only work if the organizer fits well. If the organizer is too small, the pads may not sit flat against the drawer base, which defeats their purpose entirely.
Pro Tip: Before buying online, cut a piece of cardboard to your target organizer dimensions and place it in the drawer. If it shifts around noticeably, the real organizer will too. Adjust your target size before you spend a dollar.
Selecting organizers with built-in non-slip features and measuring first reduces the need for aftermarket adhesives, which simplifies the whole process. Getting the fit right is the foundation. Everything else is reinforcement.
Effective DIY methods to stabilize existing drawer organizers
You already own the organizer. It slides. Here is how to fix it without replacing it, spending much money, or making permanent changes to your drawer.
Clean and degrease first
No grip aid works on a dirty surface. Wipe down both the drawer base and the bottom of the organizer with a damp cloth and a small amount of dish soap, then dry both surfaces completely. For kitchen drawers, use a degreasing spray to cut through cooking residue. This step takes five minutes and doubles the effectiveness of whatever you apply next.
Museum gel: the renter-friendly fix
Museum gel is a clear, non-toxic gel originally designed to keep collectibles and valuables from shifting during earthquakes. It prevents organizers from shifting by applying pea-sized amounts at corners and pressing firmly, without leaving sticky residue or causing damage. Professional organizers call it a “trick of the trade” for keeping dividers that do not fit perfectly from sliding around.
Apply it in small dots at the four corners of the organizer and one in the center. Press down firmly for 30 seconds. Museum gel works best as localized tack points rather than full-surface coverage. That targeted approach minimizes cleanup and lets you reposition the organizer whenever you need to without a fight.
Double-sided tape and grip dots
Double-sided tape cut into small squares works well on organizers with flat, smooth bases. Apply pieces at each corner and press the organizer firmly into place. Grip dots, which are small rubber or silicone adhesive circles, serve the same purpose with less mess and easier removal. Both options cost under $10 and are widely available at hardware stores.
Non-slip drawer liners
A non-slip liner placed under the organizer adds a grippy layer between two smooth surfaces. Cut the liner to fit the drawer interior precisely, leaving that 0.5 cm margin on each side. Liners made from rubber mesh or PVC grip both the drawer base below and the organizer above, which stops organizer movement without any adhesive at all.
Here is a quick comparison of the main stabilization methods:
| Method | Cost | Renter-friendly | Ease of removal | Best for |
|---|---|---|---|---|
| Museum gel | ~$14 | Yes | Very easy | Dividers with minor fit gaps |
| Double-sided tape | Under $5 | Mostly | Moderate | Flat-bottomed plastic organizers |
| Grip dots | Under $10 | Yes | Easy | Any organizer type |
| Non-slip liner | $8 to $15 | Yes | Easy | Full drawer coverage |
| Rubber-footed organizer | Varies | Yes | N/A | New purchases |
Pro Tip: Combine a non-slip liner with museum gel at the corners for the most secure result. The liner handles broad surface friction while the gel locks the organizer in place at its edges. This two-layer approach works especially well in high-traffic kitchen drawers.
Troubleshooting when organizers still shift after fixes
You cleaned the surfaces, applied museum gel, and the organizer still drifts. Here is where to look.
- Check the fit again. If the organizer moves more than half an inch in any direction, it is too small for the drawer. No grip aid fully compensates for a significant size mismatch. At that point, replacing the organizer is more practical than layering on more adhesives.
- Look for moisture. Bathroom and kitchen drawers accumulate humidity. If your liner or tape feels slick rather than grippy, moisture is the culprit. Dry the drawer thoroughly and consider adding a small silica gel packet to absorb ongoing humidity.
- Recheck your gel placement. Museum gel applied only at the center of a long organizer leaves the ends free to pivot. Move the application points to all four corners and add one at the midpoint of each long side for better coverage.
- Inspect the liner for bunching. A liner that is cut too large will bunch up at the edges and actually create a rocking surface under the organizer. Trim it to fit flat.
- Replace worn grip dots or tape. Adhesive grip aids lose their tack over time, especially in warm or humid environments. Peel them off, clean the surface again, and apply fresh ones every six to twelve months.
Pro Tip: If you use a bamboo organizer, check the base for any rough spots or splinters that might be lifting one corner off the liner. A quick sand with fine-grit sandpaper flattens the base and improves contact with the liner below.
Keeping drawers organized long-term also means doing a quick check every few months. Pull the organizer out, wipe everything down, and reapply grip aids as needed. Five minutes of maintenance prevents the frustration of a fully shifted drawer.
Key takeaways
The most effective way to stop drawer organizers from sliding is to combine a properly sized organizer with clean, dry surfaces and targeted grip aids like museum gel or a non-slip liner.
| Point | Details |
|---|---|
| Fit comes first | Measure your drawer and leave only a quarter inch of clearance to limit lateral movement. |
| Surface prep matters | Clean and degrease both surfaces before applying any grip aid for maximum effectiveness. |
| Museum gel is the top DIY fix | Apply pea-sized dots at all four corners and the center for removable, damage-free grip. |
| Layer your solutions | Combining a non-slip liner with grip dots or museum gel gives the most lasting stability. |
| Maintenance keeps it working | Inspect and refresh grip aids every six to twelve months, especially in humid environments. |
Why I always measure before I reach for the tape
I have seen the same pattern repeat itself more times than I can count: someone buys a beautiful organizer, drops it in the drawer, watches it slide around, and immediately reaches for double-sided tape. The tape helps for a while. Then it leaves a residue. Then they are scrubbing the drawer base and wondering why organization feels like so much work.
The honest truth is that most sliding problems are buying problems. The organizer was never the right size to begin with. Grip aids are genuinely useful, but they work best as a finishing touch on an organizer that already fits well, not as a substitute for proper sizing. Museum gel is my personal favorite for that finishing touch. It is reversible, it does not damage surfaces, and it costs about $14. For renters especially, that combination of effectiveness and zero damage is hard to beat.
What I have also found is that the frequency of drawer use matters when choosing your method. A junk drawer that gets opened twice a week needs far less grip reinforcement than a kitchen utensil drawer that gets yanked open twenty times a day. Match the intensity of your fix to the intensity of your use. High-traffic drawers deserve a liner plus gel. Low-traffic drawers often need nothing more than a well-fitted organizer and a clean surface.
If you have tried everything and the organizer still moves, trust that instinct to replace it. Some organizers simply are not worth the effort of constant re-stabilizing. Investing in one that fits correctly and has built-in non-slip pads will save you time and frustration for years.
— Cozee
Organize smarter with Cozee-bay

If you are ready to stop fighting with sliding organizers and start actually enjoying your drawers, Cozee-bay has resources and products designed to help. The kitchen drawer organizer guide covers practical methods and non-slip solutions tailored for homeowners and renters alike. For deeper spaces, the guide on organizing deep kitchen drawers walks through how to prevent shifting in drawers where standard organizers rarely fit well. Cozee-bay’s handcrafted bamboo drawer organizers are built with textured bases and thoughtful dimensions that work with your drawer rather than against it. Browse the full Cozee-bay collection to find an organizer that fits your space from day one.
FAQ
What is the best way to stop drawer organizers from sliding?
The best approach combines a properly sized organizer with a clean, dry surface and a grip aid like museum gel or a non-slip liner. Museum gel applied at corners is a top choice because it is removable, non-toxic, and leaves no residue.
How do I stabilize drawer dividers that do not fit perfectly?
Apply small pea-sized amounts of museum gel at each end of the divider and press firmly into place. Professional organizers recommend museum gel specifically for dividers with minor fit gaps because it grips without damaging the drawer surface.
Do non-slip liners actually work for keeping drawers organized?
Non-slip liners work well when the organizer fits the drawer correctly. Non-slip pads fail if the organizer is too small because the pads may not make full contact with the drawer base, so measuring before buying is critical.
Can I use double-sided tape to prevent drawer organizers from slipping?
Yes. Double-sided tape applied at the four corners of the organizer base creates enough grip to stop most sliding. It is affordable and easy to apply, though it may leave light residue when removed, so museum gel or grip dots are better options for renters.
How often should I reapply grip aids to keep organizers stable?
Check and refresh grip aids every six to twelve months, or sooner if you notice the organizer starting to shift again. High-humidity environments like kitchens and bathrooms wear out adhesive grip aids faster, so inspect those drawers more frequently.
Recommended
Leave a comment
Comments will be approved before showing up.