Your Cart is Empty


Kitchen Island Organization Guide for Every Home
TL;DR:
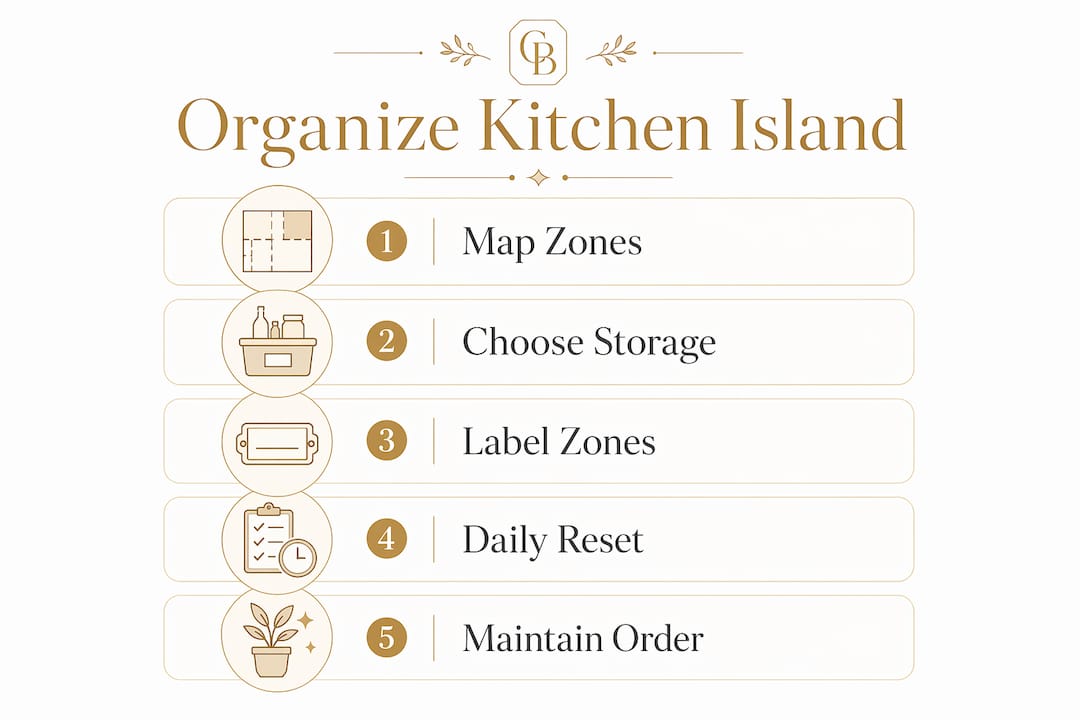
- Effective kitchen island organization relies on task-specific zones, smart storage solutions, and consistent maintenance routines. Creating dedicated areas for prep, baking, serving, and waste minimizes clutter and improves workflow, while vertical space maximizes storage capacity. Regular daily resets and strategic tool choices ensure the space remains functional and visually intentional over time.
A kitchen island organization guide is the structured process of dividing your island into task-specific zones, choosing the right storage tools, and keeping surfaces intentionally clear so the space works harder every day. Whether you are dealing with a sprawling farmhouse island or a compact rolling cart in a studio apartment, the same principles apply: zone first, store smart, and declutter with purpose. Magnetic knife strips, pull-out shelf kits, pegboards, and labeled containers are the tools that turn a cluttered island into the most functional surface in your kitchen. Get this right, and your entire cooking workflow changes.
How do you map and zone your kitchen island for maximum efficiency?
Task zoning is the foundation of any effective kitchen island setup. Mapping zones on paper before purchasing a single organizer prevents the most common mistake homeowners make: buying storage products that do not match how they actually cook.
Think of your island as four distinct areas working together.
- Prep zone. This is the side closest to your stove or range. Keep cutting boards, knife blocks or magnetic strips, and mixing bowls here. Everything you reach for before food hits the heat belongs in this zone.
- Baking zone. Dedicate one drawer or cabinet section to baking tools: measuring cups, a kitchen scale, rolling pins, and parchment paper. Grouping these together means you stop hunting through three drawers every time you want to bake.
- Serving zone. Position this side nearest your dining table or breakfast bar. Store serving spoons, trivets, napkins, and placemats here so the handoff from stove to table is smooth.
- Trash and recyclables zone. A pull-out bin cabinet on one end of the island keeps waste off the counter and out of sight. This single addition eliminates the paper towel roll, the random plastic bag, and the pile of junk mail that tends to collect on island corners.
The biggest mistake people make is treating the island as one giant storage zone. When everything lives everywhere, nothing has a home. Task zoning matching workflow proximity keeps prep items near the stove and serving items near the dining area, which cuts down on the back-and-forth that makes cooking feel chaotic.
Pro Tip: Label each zone with a small adhesive label inside the cabinet or drawer. You will spend less time maintaining the system because everyone in the household knows exactly where things go.

Spend 20 minutes sketching your workflow before you buy anything. Stand in your kitchen and trace the path you take from fridge to prep surface to stove to table. Your island zones should mirror that path exactly.
What are the best kitchen island storage ideas to maximize space?
The best kitchen island storage ideas share one trait: they use space that already exists but goes ignored. Pull-out shelves in deep base cabinets and appliance garages are both weekend upgrade projects that require no major remodeling. A Saturday afternoon and a basic drill are all you need.
Here is where most homeowners leave storage capacity on the table.
- Vertical surfaces on island ends. The flat panels on either end of your island are prime real estate. Mount a pegboard or narrow shelving unit there and you gain hooks for pots, slots for cutting boards, and a rail for frequently used utensils.
- Inside cabinet doors. Adhesive hooks, over-door organizers, and mounted spice racks on the interior of cabinet doors add storage without taking up shelf space. Vertical surfaces on island ends and inside cabinet doors can increase your total storage capacity by 15–20%.
- Magnetic knife strips. A wall-mounted magnetic strip reduces counter space usage from 6–8 inches down to just 2 inches. That is a 75% reduction in the footprint of your knife storage, and the knives are actually easier to grab.
- Appliance garages. A cabinet with a roll-up or lift-up door hides your toaster, coffee maker, or stand mixer. The appliance stays plugged in and accessible but disappears when you are not using it.
Here is a comparison of the most popular storage solutions to help you decide where to start:
| Storage solution | Approximate cost | Installation difficulty | Storage gain |
|---|---|---|---|
| Pull-out shelf kit | $30–$80 | Moderate (DIY weekend) | High |
| Magnetic knife strip | $15–$40 | Easy (two screws) | Medium |
| Pegboard on island end | $20–$50 | Easy to moderate | High |
| Appliance garage cabinet | $100–$300 | Moderate to hard | High |
| Over-door organizer | $10–$25 | Easy (adhesive or hooks) | Low to medium |
For renters or anyone working with a small kitchen island, a rolling cart with open shelves and a drawer is the most flexible option. You can reposition it, take it with you when you move, and customize it with baskets and bins without touching a wall.
How to keep your kitchen island countertops clear and visually intentional?
Organizing kitchen countertops is not about stripping them bare. The goal is an intentional surface, not an empty one. Adding back one decorative item after a full clear-out signals that the space is managed rather than abandoned.
The rule that professional organizers use is straightforward: only items used every single day belong on the counter. Your coffee maker earns its spot. The bread maker you used twice last year does not.
Here is how to get there without pulling your hair out:
- Do a full clear-off first. Remove everything from the island surface. Every single thing. Then put back only what you use daily.
- Use a tray or basket as a landing zone. A shallow tray corrals small items like salt, pepper, olive oil, and a small plant into one defined area. The tray creates a visual boundary so the counter does not creep back into chaos.
- Hide appliances in cabinets or appliance garages. If you do not use it every morning, it does not need to live on the counter.
- Leave breathing room. Leaving 30–50% of your counter surface free creates visual calm and gives you actual prep space. Even a beautifully organized counter feels cluttered when it is packed edge to edge.
“The goal is not an empty surface but an intentional one.” — Kelly Zugay, professional organizer
Seating is another factor that affects how your island surface feels. Proper counter overhang for stools must be maintained so chairs tuck fully under the island. When storage crowds out the overhang, you lose seating and the island feels cramped from every angle.
What tools and accessories are essential for organizing a kitchen island?
The best kitchen island accessories are the ones that reduce friction in your daily routine. You want tools that make putting things away easier than leaving them out. That is the standard every organizer should meet.
Here are the items worth investing in:
- Clear labeled containers. Transparent bins let you see contents at a glance. Add a label and you eliminate the “open every drawer” search that wastes two minutes every morning.
- Shallow trays. These work on counters and inside drawers to separate small items. A shallow tray in a junk drawer turns a mess into a system.
- Pull-out bins. Mounted inside a base cabinet, pull-out bins handle trash, recycling, or cleaning supplies without taking up floor space.
- Spice drawer inserts. Angled spice inserts lay jars flat so labels face up. You see every spice in one glance instead of pulling out six jars to find the cumin.
- Roll-out carts. For renters or anyone short on built-in storage, a roll-out cart adds a drawer, a shelf, and a work surface in one piece.
Using shallow trays or tiered organizers separates small items for easy access and makes the daily reset take under two minutes.
| Tool | Purpose | Typical cost |
|---|---|---|
| Clear labeled containers | Dry goods, utensils, small tools | $5–$20 each |
| Shallow drawer tray | Separating utensils, spices, knick-knacks | $8–$25 |
| Pull-out trash bin | Hidden waste management | $25–$80 |
| Spice drawer insert | Angled spice jar display | $15–$35 |
| Roll-out cart | Portable storage for renters | $50–$150 |
Pro Tip: When buying drawer organizers, check the weight rating on the hardware. Drawers holding cast iron pans or heavy appliances need full-extension slides rated for at least 75–100 pounds. Cheap slides fail fast under that load.
For a deeper look at organizing kitchen drawers with the right tools and materials, Cozee-bay has a practical guide that walks through the process step by step.
What common mistakes to avoid when organizing your kitchen island?
Most kitchen islands fall back into chaos within a few weeks of being organized. The reason is almost always one of three mistakes: overcrowding, storing “just in case” items, and skipping a maintenance routine.
Here is how to avoid each one:
- Do not overcrowd with organizers. Buying too many bins, trays, and containers creates a new kind of clutter. Every organizer you add needs to earn its place by solving a specific problem. If you cannot name the problem it solves, put it back.
- Stop storing “just in case” items on the island. The extra set of batteries, the takeout menus, the random screwdriver. These items creep onto the island and never leave. Give them a permanent home elsewhere or donate them.
- Do not ignore the maintenance routine. A daily reset takes under two minutes. At the end of each day, return every item to its zone, wipe down the surface, and toss any trash. A weekly reset goes deeper: check that zones are still working, pull out anything that does not belong, and adjust as needed.
- Do not skip the zone review. Your cooking habits change with the seasons. A baking zone that made sense in December may need to shrink in July. Rebuild your zones every few months to match how you actually use the kitchen right now.
- Do not prioritize storage over seating. Prioritizing storage without considering counter overhang for seating creates usability problems that no amount of organization can fix. Storage and function must coexist.
A simple kitchen organization checklist can help you stay consistent. Cozee-bay’s kitchen organization checklist covers the daily and weekly habits that keep a well-organized island from sliding back into chaos.
Key takeaways
A well-organized kitchen island requires task zoning, intentional surfaces, and a consistent daily reset to stay functional long term.
| Point | Details |
|---|---|
| Zone before you buy | Sketch workflow zones on paper before purchasing any organizers to avoid unusable storage setups. |
| Use vertical space | Pegboards on island ends and over-door organizers can increase storage capacity by 15–20%. |
| Clear counters with purpose | Only daily-use items belong on the surface; leave 30–50% of counter space free for prep and visual calm. |
| Choose tools that reduce friction | Shallow trays, labeled containers, and pull-out bins make putting things away easier than leaving them out. |
| Maintain with a daily reset | A two-minute end-of-day routine prevents the gradual clutter creep that undoes weeks of organization. |
What I have learned from watching kitchens get organized and fall apart
I have seen a lot of kitchen islands go from disaster zones to genuinely functional spaces, and then slowly slide back into chaos. The pattern is almost always the same. People spend a weekend organizing, buy a set of matching bins, feel great about it, and then stop there. Two months later, the island looks worse than it did before because now there are bins full of random stuff on top of the original clutter.
The insight that actually sticks is this: organization is not a project you finish. It is a habit you build. The homeowners I have seen get it right are not the ones with the prettiest setups. They are the ones who spend two minutes at the end of every day putting things back where they belong.
The other thing I would push back on is the idea that a bigger island solves the problem. It does not. More surface area just gives clutter more room to spread. I have seen a 4-foot island stay spotless and a 10-foot island turn into a dumping ground within a week. The size of the island matters far less than the clarity of the system.
Start with the zones. Do the 20-minute sketch before you spend a dollar. And pick one thing to put back in its place every single time you walk past the island. That habit, more than any product you buy, is what keeps the space working.
— Cozee
Organize your kitchen island with Cozee-bay

If you are ready to put these ideas into practice, Cozee-bay has the tools to make it happen without a full remodel. From bamboo drawer organizers that fit neatly inside island cabinets to food bag organizers, wrap and foil dispensers, and trash bag organizers designed for everyday kitchen use, every product is built with sustainability and function in mind. Cozee-bay ships free within the contiguous U.S. and backs every purchase with a money-back guarantee. Browse the full kitchen organization collection and find the right fit for your island setup today.
FAQ
What is the first step in organizing a kitchen island?
Sketch your workflow zones on paper before buying any organizers. Spending 20 minutes mapping prep, baking, serving, and trash zones prevents you from purchasing storage products that do not match how you actually cook.
How much counter space should I leave free on my kitchen island?
Leave 30–50% of your island surface free at all times. This gives you enough prep space and creates the visual calm that makes a kitchen feel organized rather than crowded.
What is the best storage upgrade for a kitchen island without remodeling?
Pull-out shelf kits for deep base cabinets and magnetic knife strips are the highest-impact upgrades. Both can be installed in a single afternoon and require no structural changes to your kitchen.
How do I keep my kitchen island organized long term?
A daily two-minute reset, returning every item to its designated zone and wiping down the surface, is the single most effective maintenance habit. A weekly review of your zones keeps the system aligned with how your cooking habits change over time.
Are kitchen island organization tips different for renters?
Renters should focus on freestanding solutions: rolling carts, adhesive over-door organizers, and pegboards that mount without permanent hardware. These options deliver the same storage gains as built-in upgrades without risking your security deposit.
Recommended
Leave a comment
Comments will be approved before showing up.